Arengu is one of the most interesting nocode tools for building intelligent forms. Thanks to its logic you can make complete flows from a simple form - all without a single line of code. We will see in this simple entry how we can integrate Arengu with one of the most used nocode tools for creating web pages - Webflow. We will explore the two ways that there are to insert an Arengu web form:
- Through an HTML code that we will insert in the page or
- Through a modal element that will over impress our web - giving us a more polished experience.
Before starting, it will be necessary to fulfill the following requirements:
- Have an account in Arengu.
- Having a Webflow account.
- Hire (at least) one Site plan.
Creating the form in Arengu
The first step is to create a form within Arengu. You can use one of the pre-configured templates they have - which cover most of the use cases you will need. Once you have created and published the form, you will be able to access the "Share" tab*,* in which we will see the different options that Arengu generates by default so that we can share it. Specifically, there are three options that interest us:
- URL
- HTML Embed
- Modal
Option 1: Inserting the Arengu form through a URL
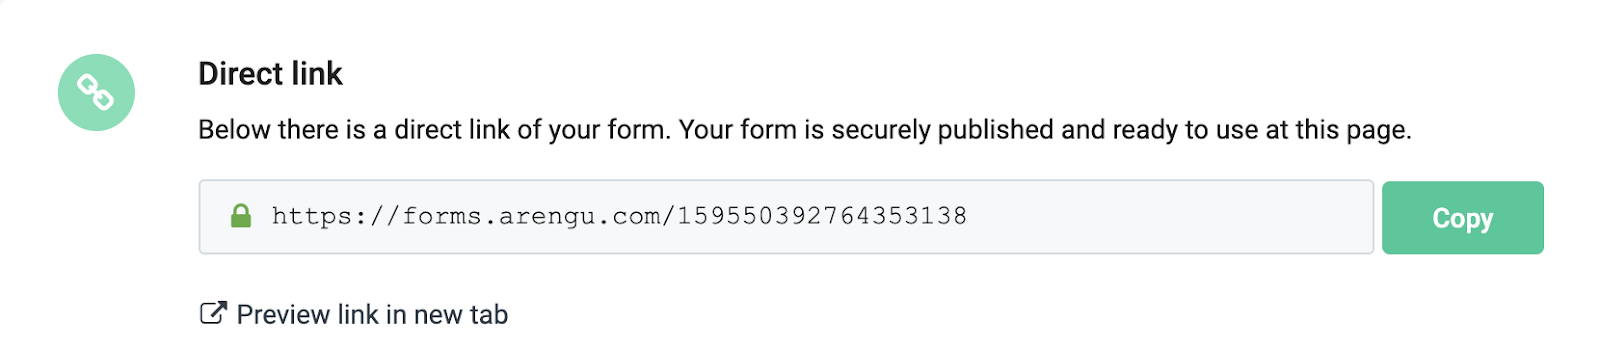
The easiest option to integrate an Arengu form is to create a button inside your page and tell it to take you to the Arengu form URL. This URL is unique for each form, and you will find it in the last section within the "Share" tab. It is recommended that you configure the button to be opened in a new tab - not taking the user out of your website.
Option 2: Inserting the Arengu form through an HTML Embed
The second way is perhaps a more elegant solution to incorporate the form into the web. This is by adding a small piece of custom code within Weblow, which is possible thanks to the HTML embed element.
We will be able to customize both the size of the form -giving it the properties corresponding to the element in Webflow- and the visual aspect thanks to the Arengu visual configurator - or if you want to customize even more, modifying the CSS.
To incorporate it you must:
- Add a HTML Embed element to your Webflow page. It is recommended that you assign it an identifying class, such as Arengu-form.
- Navigate in the tab of "Share" of Arengu, until the option of Inline Embed. Copy the code that appears here:
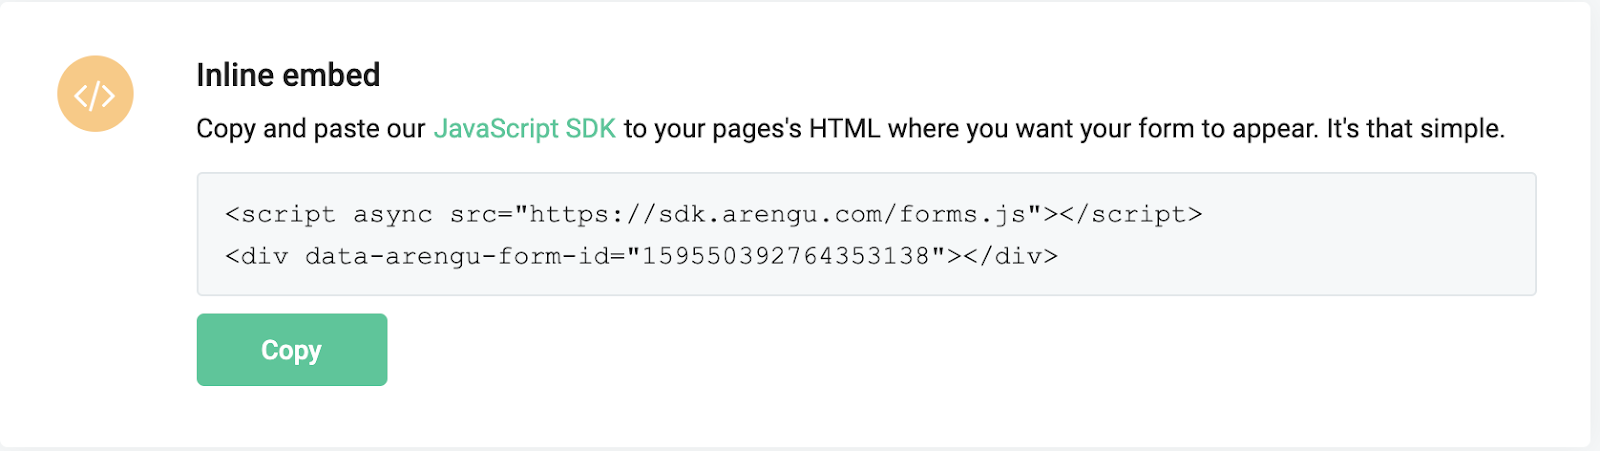
- Paste the code into the HTML Embed element within Webflow, and click on Save & Close to save the element.
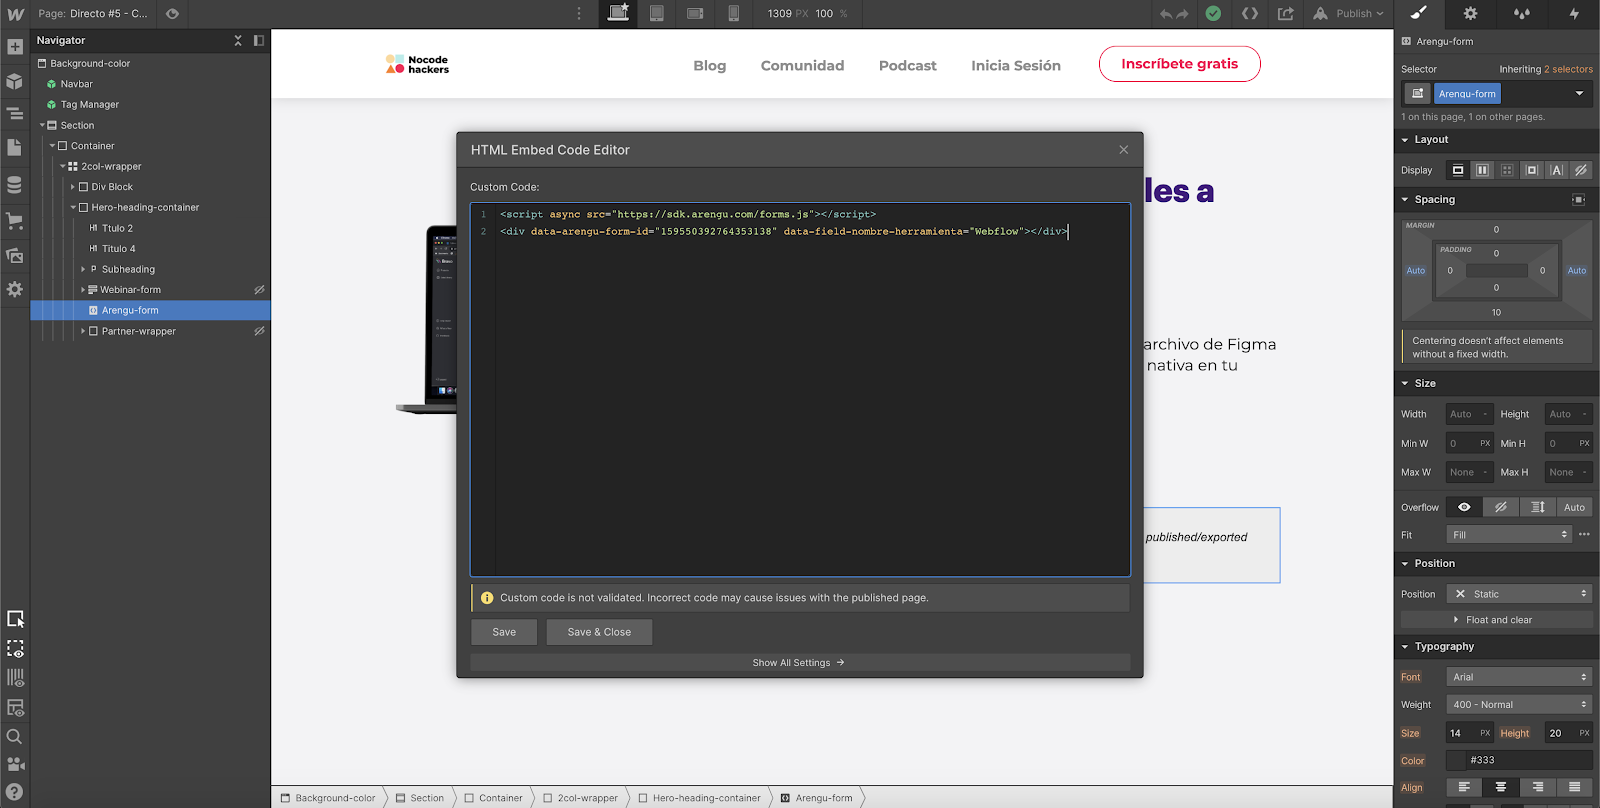
- In order to see that it works properly, you must publish the Webflow site and view it in its public version - the designer does not preview the code.
Once inserted it will automatically update with the changes you make within Arengu including the flows you assign to it or the aesthetic changes you make.
Option 3: Adding an Arengu form with a Modal Pop-Up
This option allows the form to overlay the page, leaving you with a much more integrated and functional experience - without too much additional complexity: Integrate the code that allows this functionality into the web and have a button that triggers the form.
To add the custom code to the page, you will need to click on the page settings wheel, which you can find in the "Pages" section (or by clicking on the letter P), which will indicate that you can edit the page settings.
Navigate to the Custom Code section, and, once in it, go to the box that specifies: Inside <head> tag</head>.
There you must paste the next two lines of code:
https://sdk.arengu.com/forms.js">
https://sdk.arengu.com/modal.js">
Click on “Save” and you will be correctly configured.
Once this code is in your page, you can create a button with the style you want to give it homogeneity with the style of your page. We will have to assign it an attribute so that the page understands that it must show the modal.
In order to do this, with the button selected, navigate to the “Element Settings” tab (or press the D key) and find the "Custom Attributes" section.
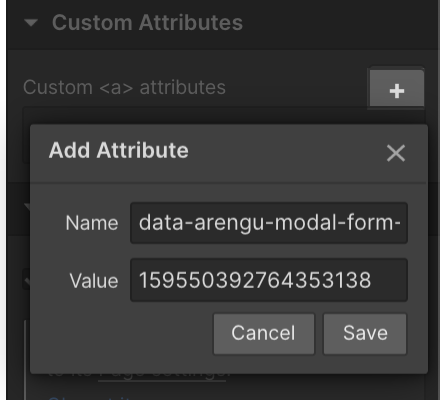
There you must create a new attribute, clicking on the + symbol with the following characteristics:
- Name: data-arengu-modal-form-id
- Value: {YOURFORMID}
You can get the Form ID from what we have done in the first step, right after the Arengu URL.
Publish the page and in the live version of it, check that the button works correctly and that the form is displayed.
These are the 3 options you have for integrating Arengu forms with Webflow, as we have seen they are all quite simple to implement within a project, and allow you flexibility in choosing those that best suit the corresponding use case.
Thank you!
Let’s grow together
Reach a new level of growth