If you are in the validation phase of your MVP prior to the launch of your project, you are probably interested in finding out if your product or service has potential customers. One of the ways to check it is by integrating a form in your website or in the landing page. This way you will be able to see directly all the users who decide to write to you.
In addition, if one of the fields in your form consists of sending an email, you will be able to create your database so that you can later contact those who you know were interested in your project. It is highly recommended to "hook" these users by replying with a welcome email, this way you will ensure that they receive a notice reminding them that you will contact them again later, once the product is launched.
Obviously, writing one by one to all users who register can become a tedious job, especially when you know that it is the same email that you want to send to them. The solution is simple thanks to some NoCode tools: automate these emails that will answer all users who leave their email address. Today we are going to learn the steps to follow to create, edit and manage the emails that will be automatically sent to everyone who completes a Typeform form.
What you need
- Account: you will need to create your own Typeform, Zapier and Gmail accounts. All three tools are NoCode so you will not need to learn coding to use them. Plus, they all have free plans!
- Form: you must have previously created the form for which you want to set up the email automation. It's very easy to create a form with Typeform, however, if you have problems doing so keep an eye on our next posts as we will tell you how to do it.
Step 1: Link Zapier to Typeform
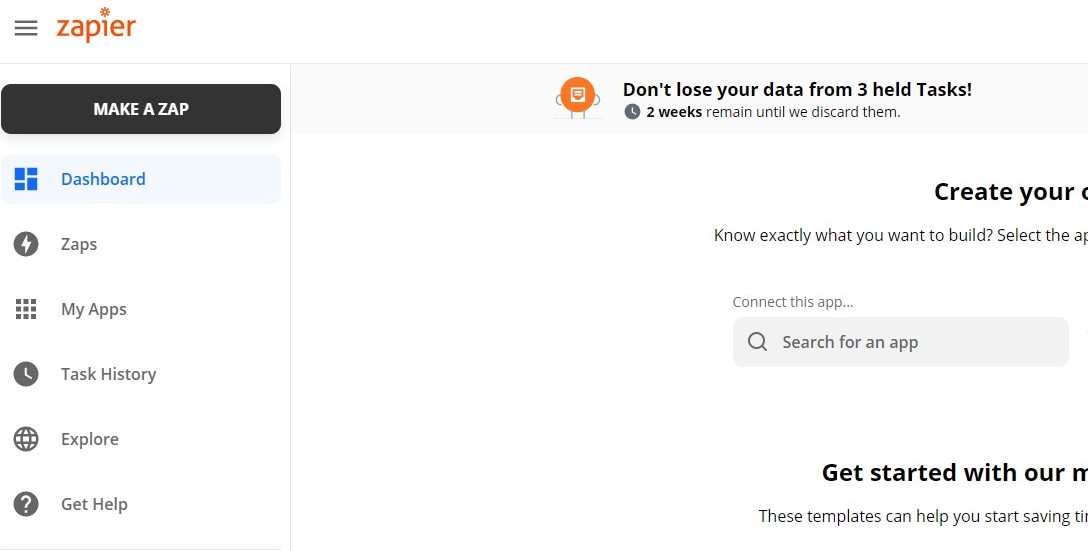
To link Zapier to Typeform you must log in to your Zapier account which you have previously created. As we mentioned, you can use the free plan. In the left menu you will find a button that says "Make a Zap", click that button as shown in the following image.
When you click on the button, a window will appear in which you can see the first step: choosing the Trigger or the trigger of the automation. In the box following "Choose App & Event", look for Typeform and select it.
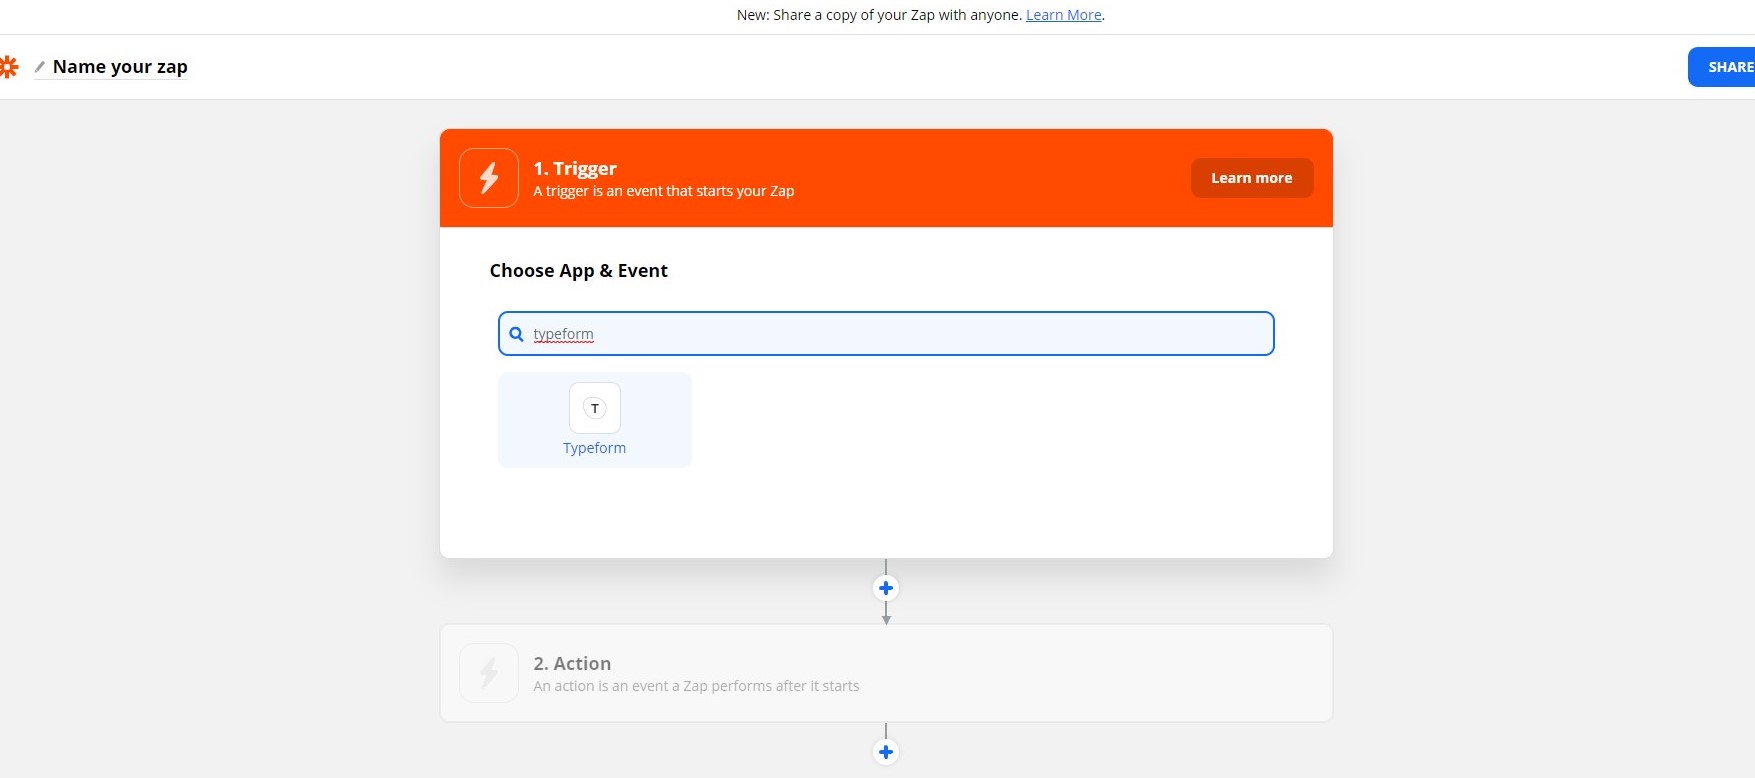
Within the drop-down menu named "Trigger Event" you must select the option "New Entry". Now click on "Continue".
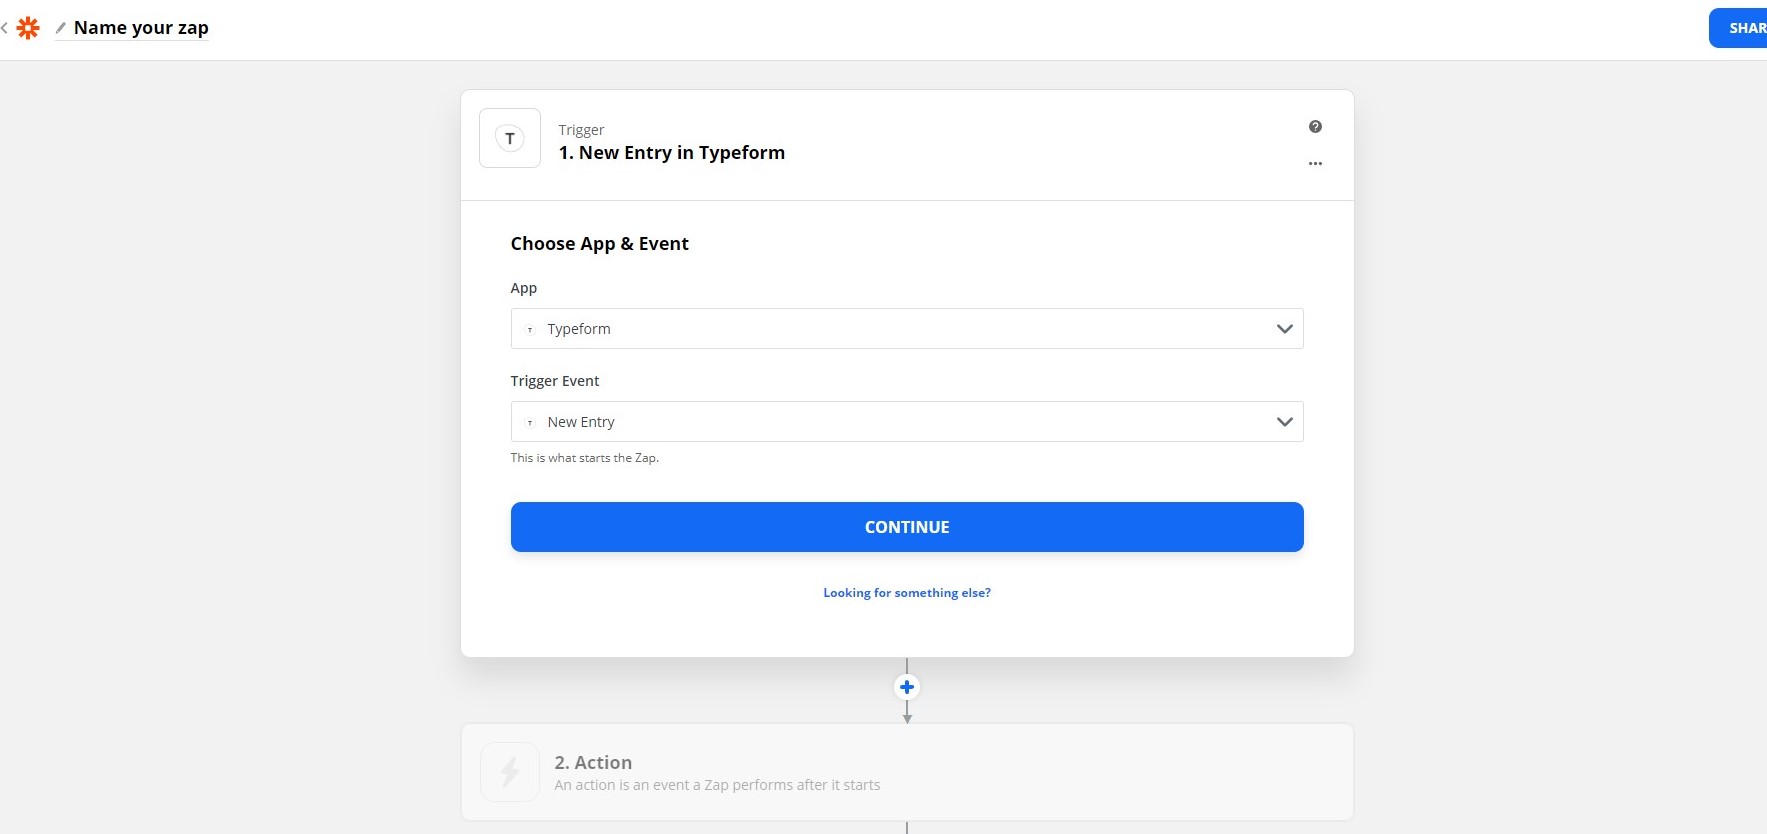
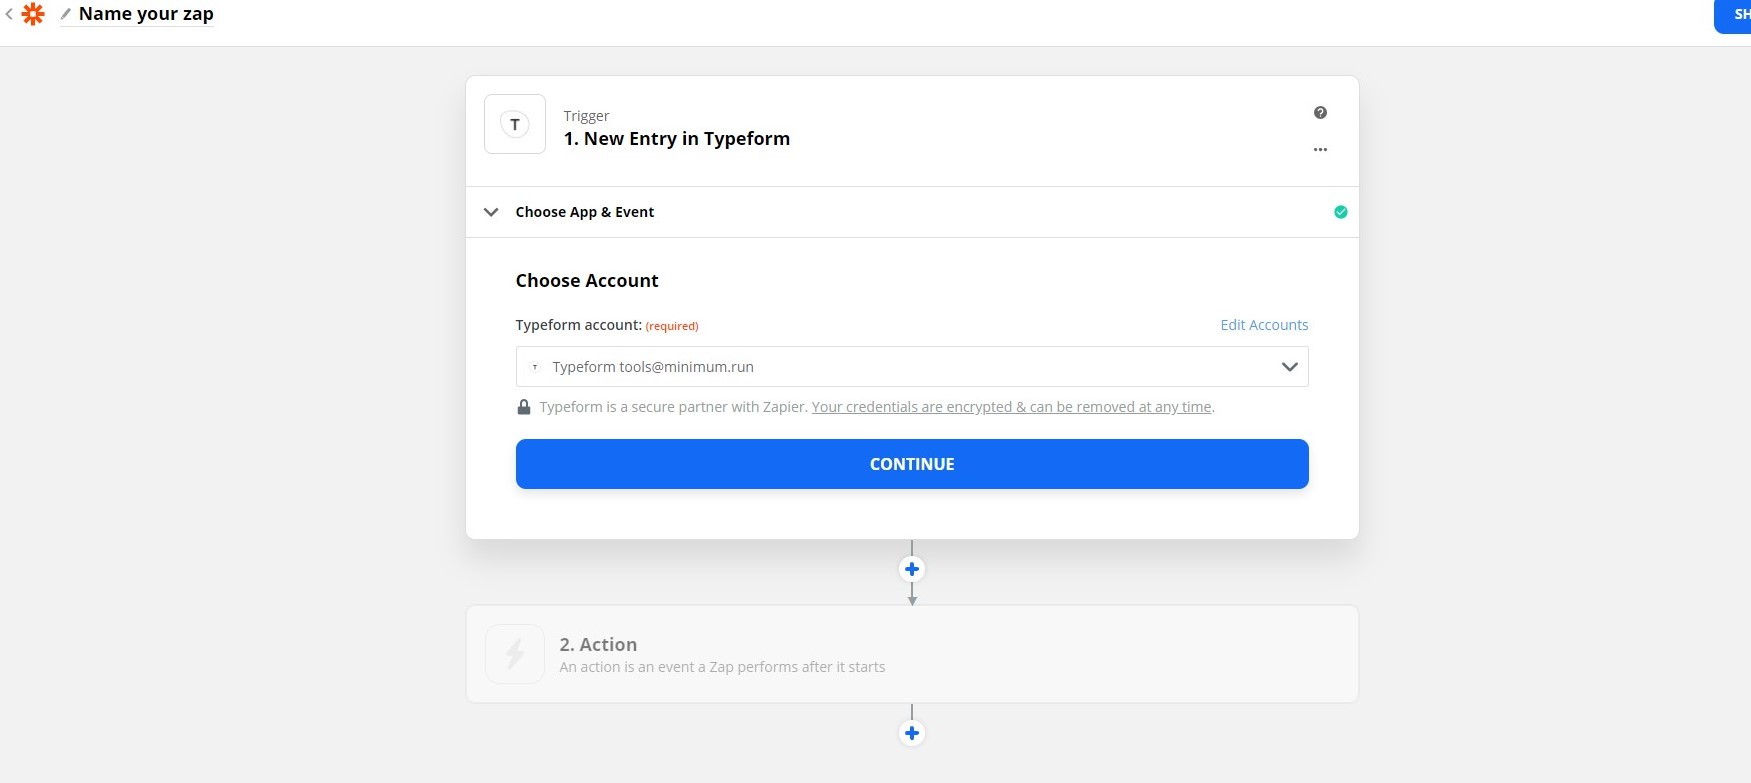
The next tab will allow you to select the Typeform account where your form is located. You can search for accounts you already have linked to Zapier or add a new one in the "Typeform account" box. Once selected, click on the "Continue" button
The next tab will allow you to select the form you want to link to within your Typeform account. In the search box look for your form and select it. Then click on continue.

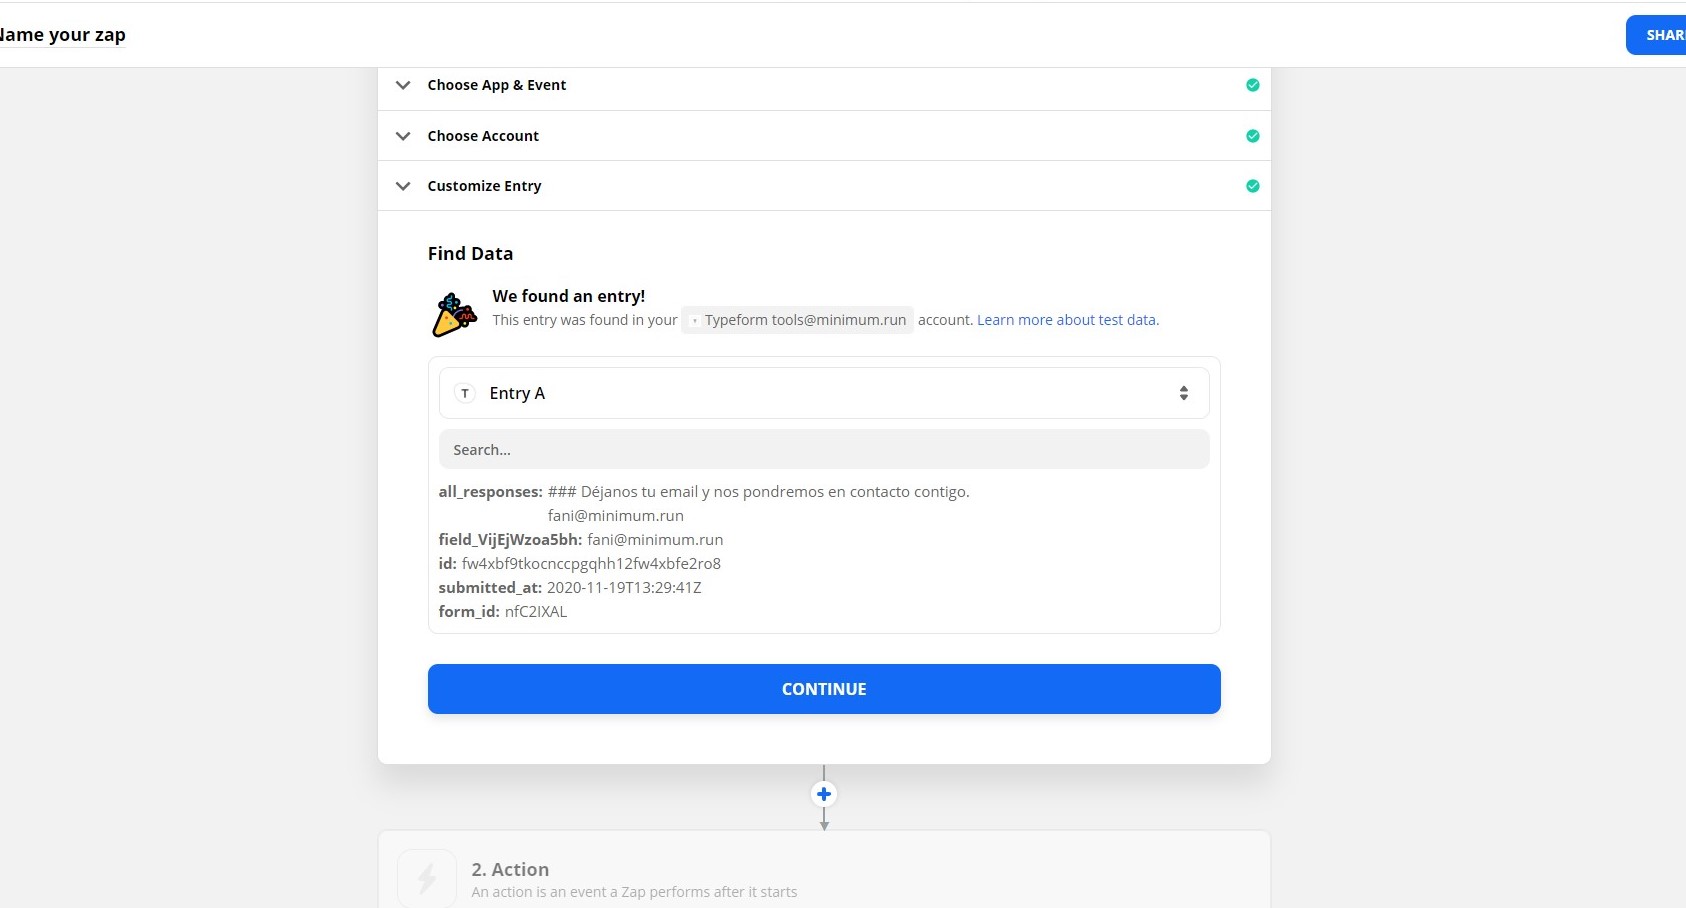
Now click on the "Find Data" button which will display the form entries. Click on continue, as the image below shows, we have it!
Step 2: Link the email as an action and customize it
The next step will be to link the email as an action and customize it to our liking. For this, you will need to have your Gmail account created and ready to use. We recommend that you create a special one for your project since this account will appear as the sender of the automated email.
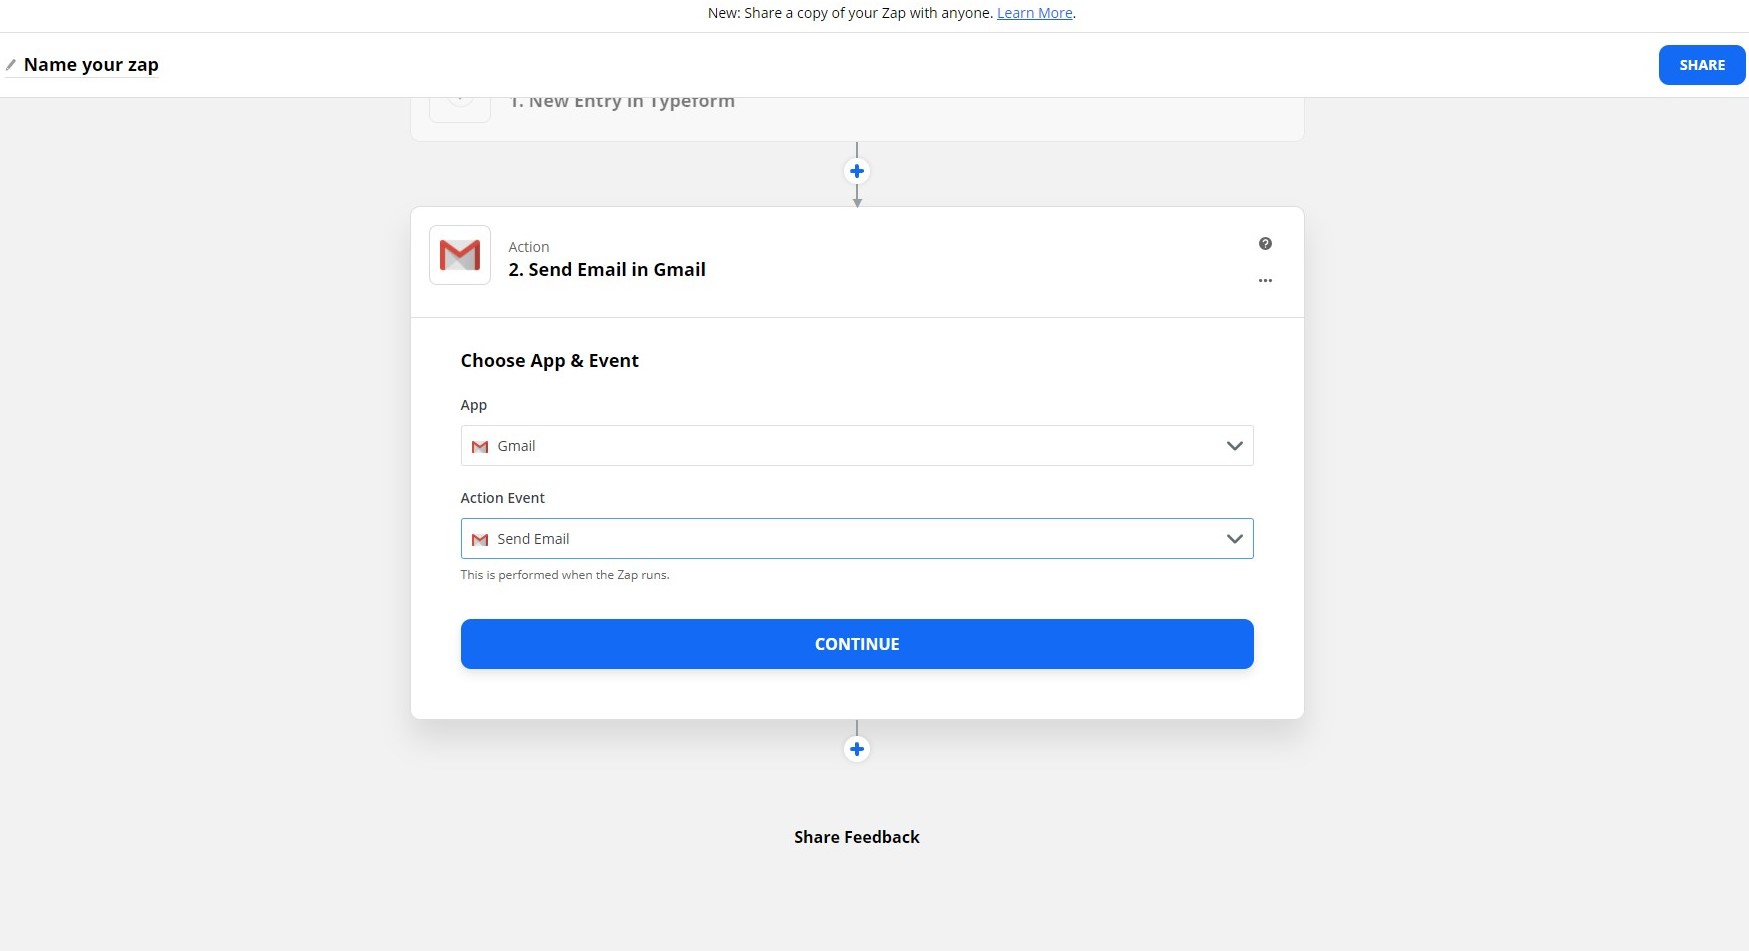
If you have followed the previous steps, in Zapier you will find yourself in the second window: the "Action" window. In the first box, 'App', you should choose Gmail. In the second box, you should choose the option to send an email. Now click on continue.
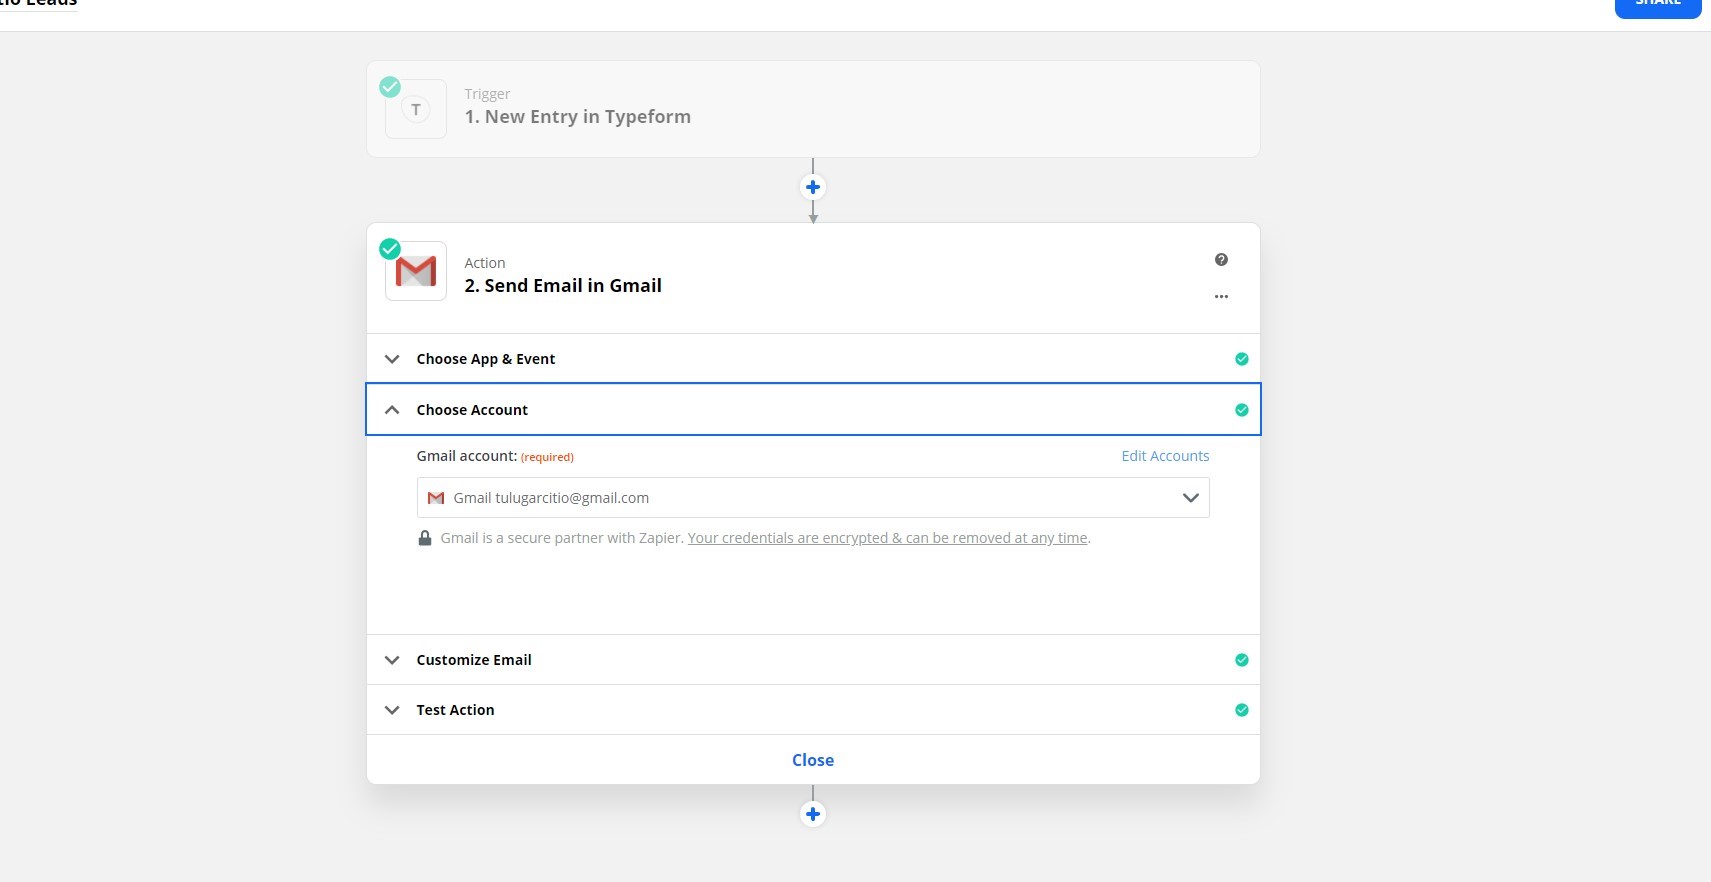
The next tab will give you the chance to choose which Gmail account you want to link to Zapier, choose from those that are already linked or add a new one. Then, click continue.
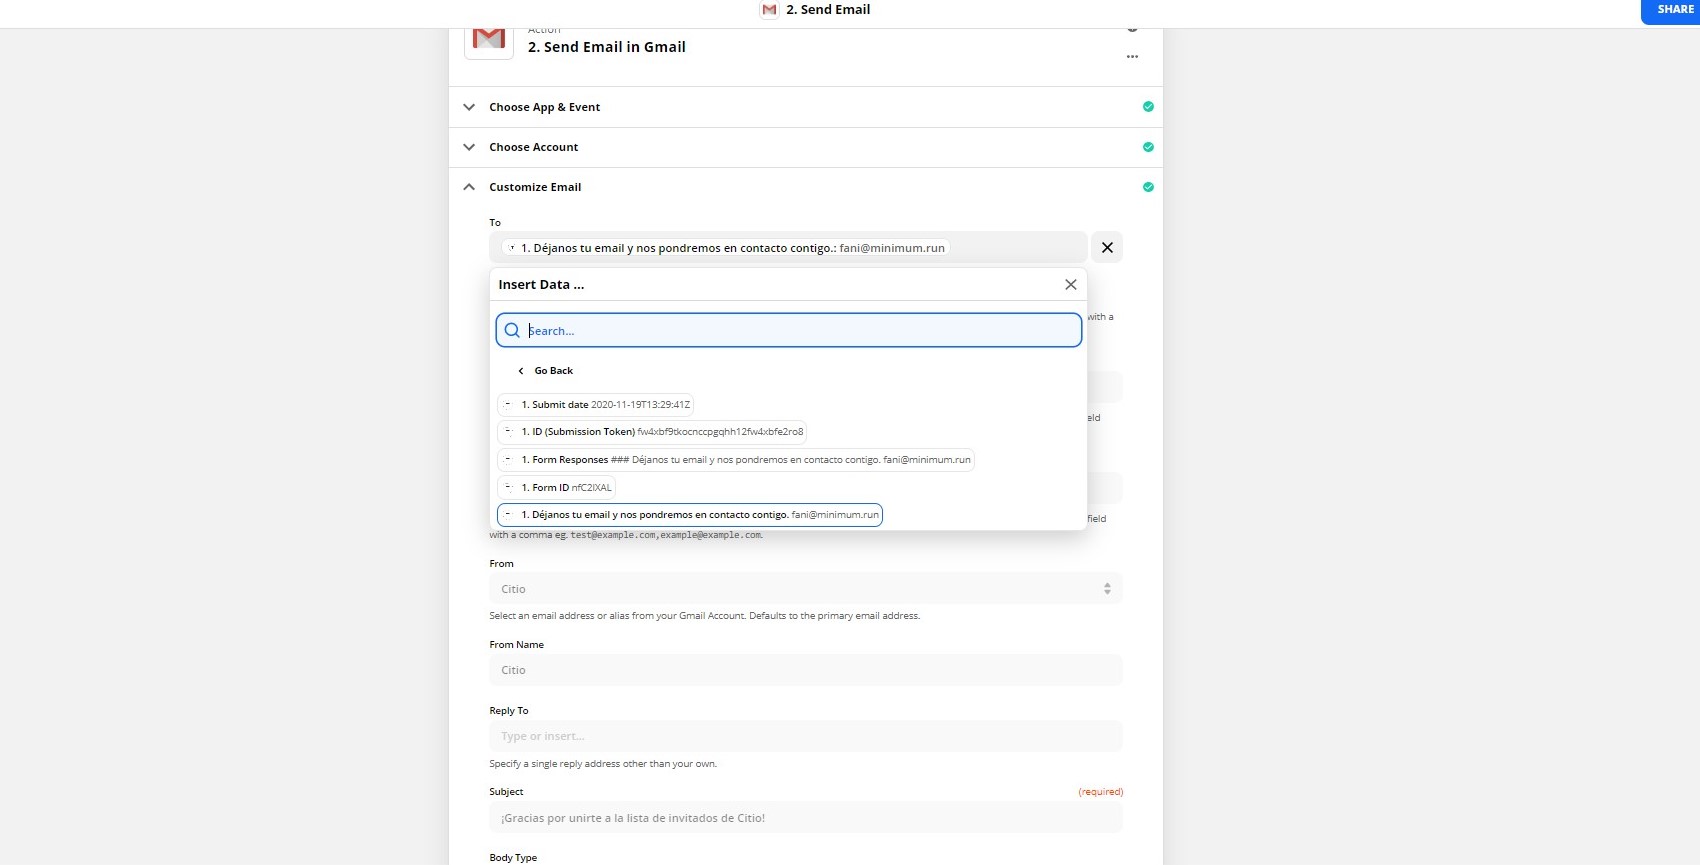
In the next tab, you will see all the fields you can fill in to personalize your email, among these fields you will find:
- The "To" field: in this field you must specify that the emails must reach the email address that each user has left in your form. To be able to automate it in this way, click on the box and choose, from the options given, the one that refers to that field of your form in which the users write their email address.
- The "From" field: in this field you must write or select the email account you have previously created from which you want the automated emails to be sent.
- The "From Name" field: in this field you must write the name of your company or the name you want to appear as the writer of the email.
- The "Subject" field: in this field you can specify what the subject of each email should be.
- The "Body Type" field: in this field you can choose whether the format of the body of the email will be personalized or with plain text.
- The "Body" field: in this field, write the body of the email as you want the users to receive it.
- The "Signature" field: in this field, write the signature you want to appear in all your emails.
- The "Label/Mailbox" field: in this field select if you want the email to have a specific label (such as important or urgent), if not, simply select the "Inbox" option.
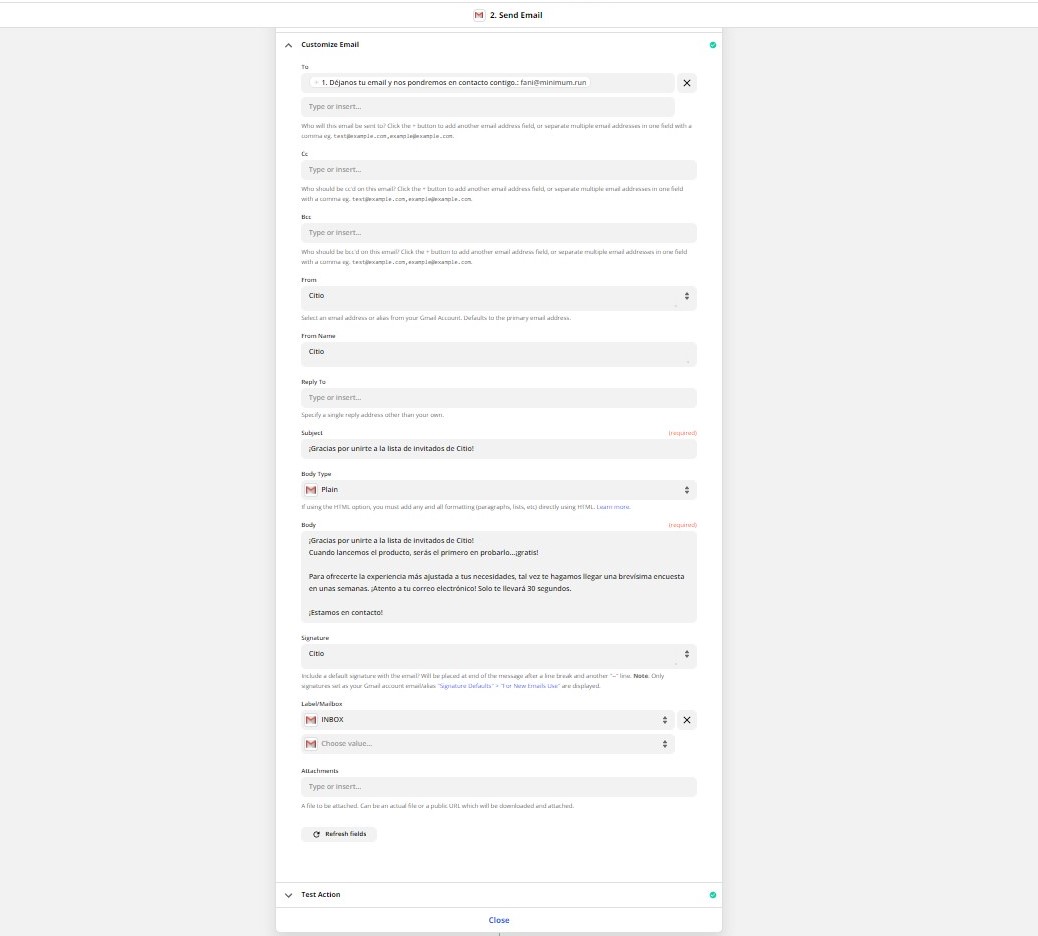
Now click on the continue button.
Step 3: Check that the link works properly
Once you have filled in all the email personalisation fields, all that remains is to verify that it works. To do this, click on the "Test & Continue" button
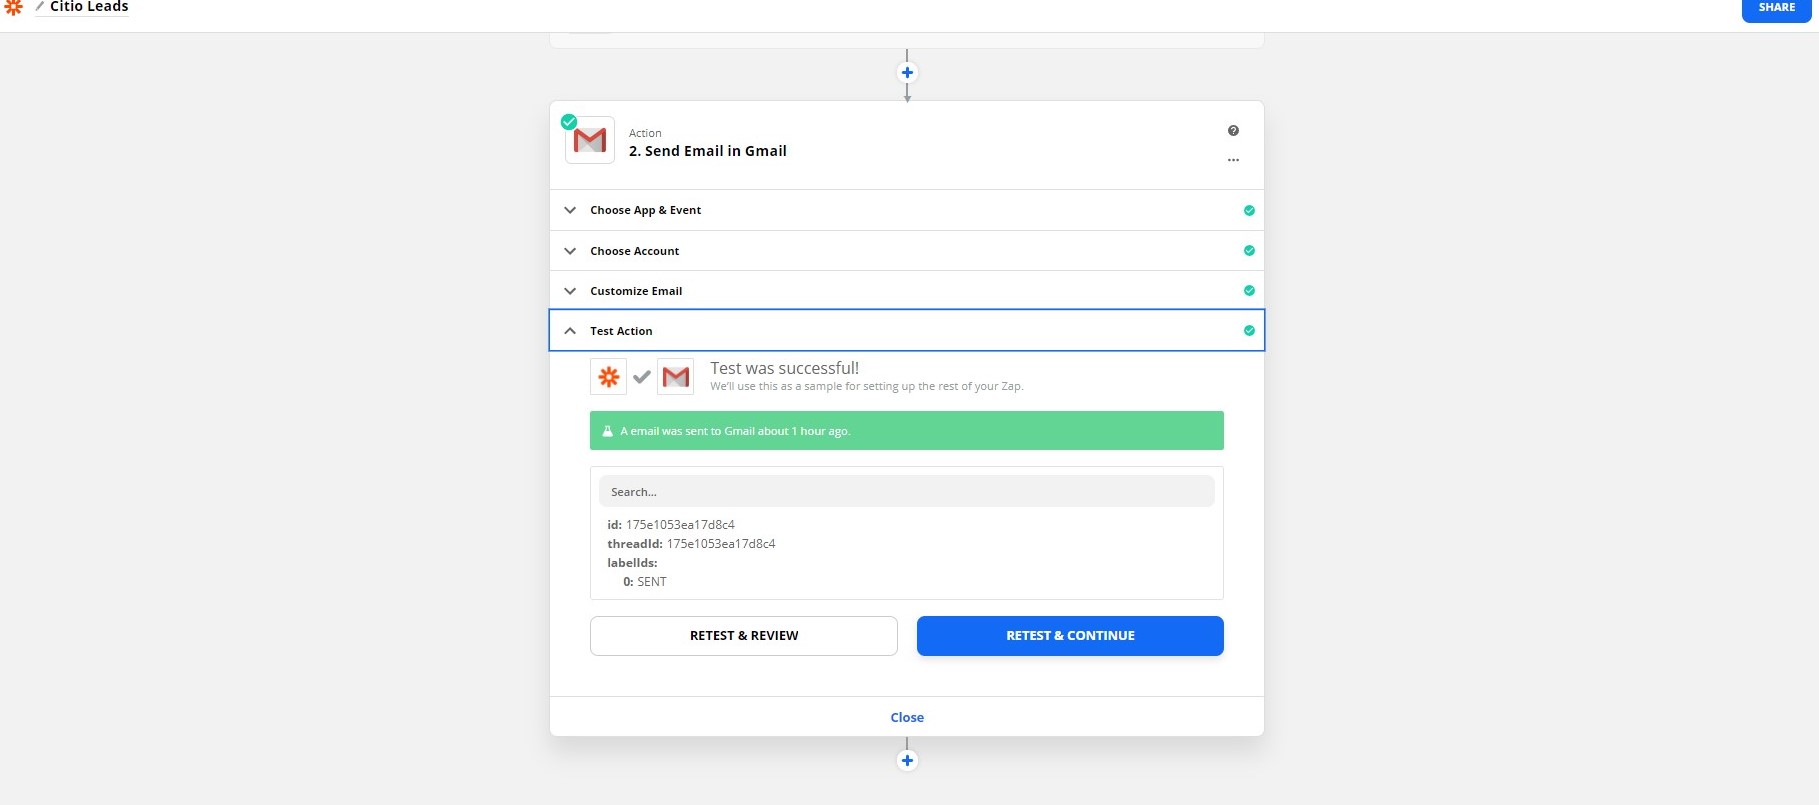
Ready to go! You have now created your automated email for the forms you generate with Typeform.
Thank you!
Let’s grow together
Reach a new level of growth